
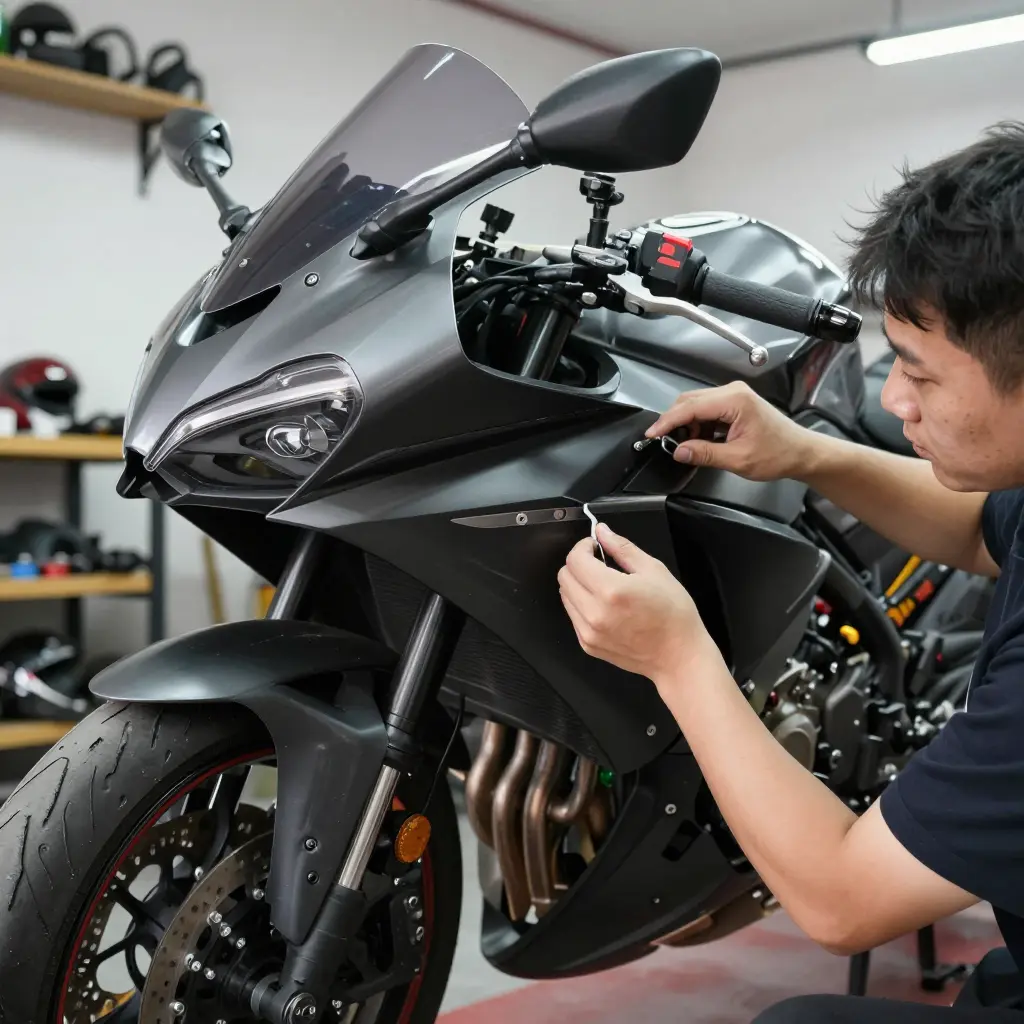
Why Fitment Comes First
A full fairing kit for an older model does not bolt on the way a new one does, and a budget built on that assumption is the first thing to go. On a current-production motorcycle, mounting tabs, panel gaps, and hardware match the factory drawings, so an aftermarket shell needs only minor adjustment. An older machine has picked up decades of variables: flexed subframes, drops, old repairs, undocumented mid-year changes. No two align alike. That is what fairing fitment checks are for – they tell you early whether the build lands in the clean install zone or the repaint and rework costs zone.
Fitment is the measured relationship between a kit’s mounting points, panel edges, and the actual geometry of your bike. Fairing fitment checks confirm that relationship before you open a can of paint. Skip them and the project absorbs extra bodywork, filler, sanding, primer, and another paint pass – the spiral that turns a simple install into runaway repaint and rework costs. Run them and the build stays in the clean install zone, which matters later, because paint care shapes resale value long after the last panel is bolted down.
Before you order a full fairing kit for an older model, it pays to know which fitment checks protect your budget and which ones quietly drain it – and why paint quality shapes resale value.
| Fitment Check | Symptom If Missed | Cost Impact (Repaint / Rework) |
|---|---|---|
| Mounting tab alignment | Panels sit crooked and stress-crack at the tabs | Moderate – minor fiberglass repair plus blended paint on one panel |
| Bolt hole spacing | Holes refuse to line up, forcing drilling that enlarges the mounts | High – elongated holes need filling, redrilling, and repainting of adjacent panels |
| Panel gaps | Uneven gaps widen and panels rub under vibration | Low – careful shimming and trimming usually avoid a full repaint |
| Tank and seat clearance | Fairing contacts the tank or seat, chafing paint and limiting steering | High – reshaping plus repaint of the tank or fairing |
| Headlight and windscreen seating | Light sits misaligned and the windscreen whistles or cracks | Moderate – bracket tweaks plus a localized paint touch-up |
| Subframe or bracket integrity | Mounting points sag and brackets crack under load | Severe – welding, realignment, and a full panel repaint |
Table 1: Fitment checks mapped to repaint and rework costs.
A low-cost band usually means a straightforward install. High and severe bands should trigger a pre-paint mock-up and a contingency budget. Treat each band as a planning ruler: the higher it climbs, the more time, fabrication, and money you set aside before you commit to paint.
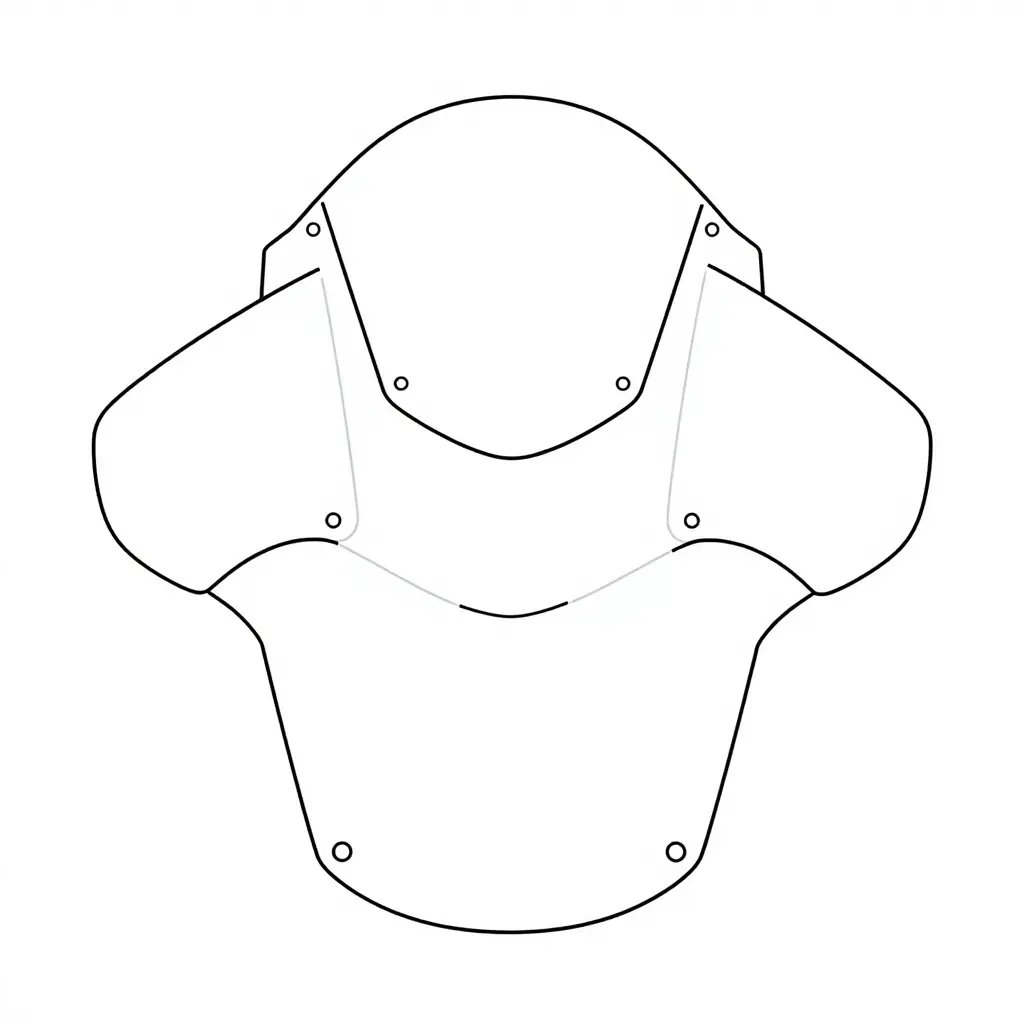
Verifying Gap Tolerances and Panel Alignment Before You Commit to Paint
Fit Problems Hide Until the Bike Carries Them
An aftermarket fairing can look flawless on the bench and turn hostile the moment it meets the frame. A flat inspection never shows how panels pull, twist, or load against one another once weight, heat, and vibration are in the picture. Paint is the commitment; a test-fit is cheap insurance. Skip the dry-fit and the first sign of misalignment shows up in fresh clear coat, when every correction means sanding back and spraying again.
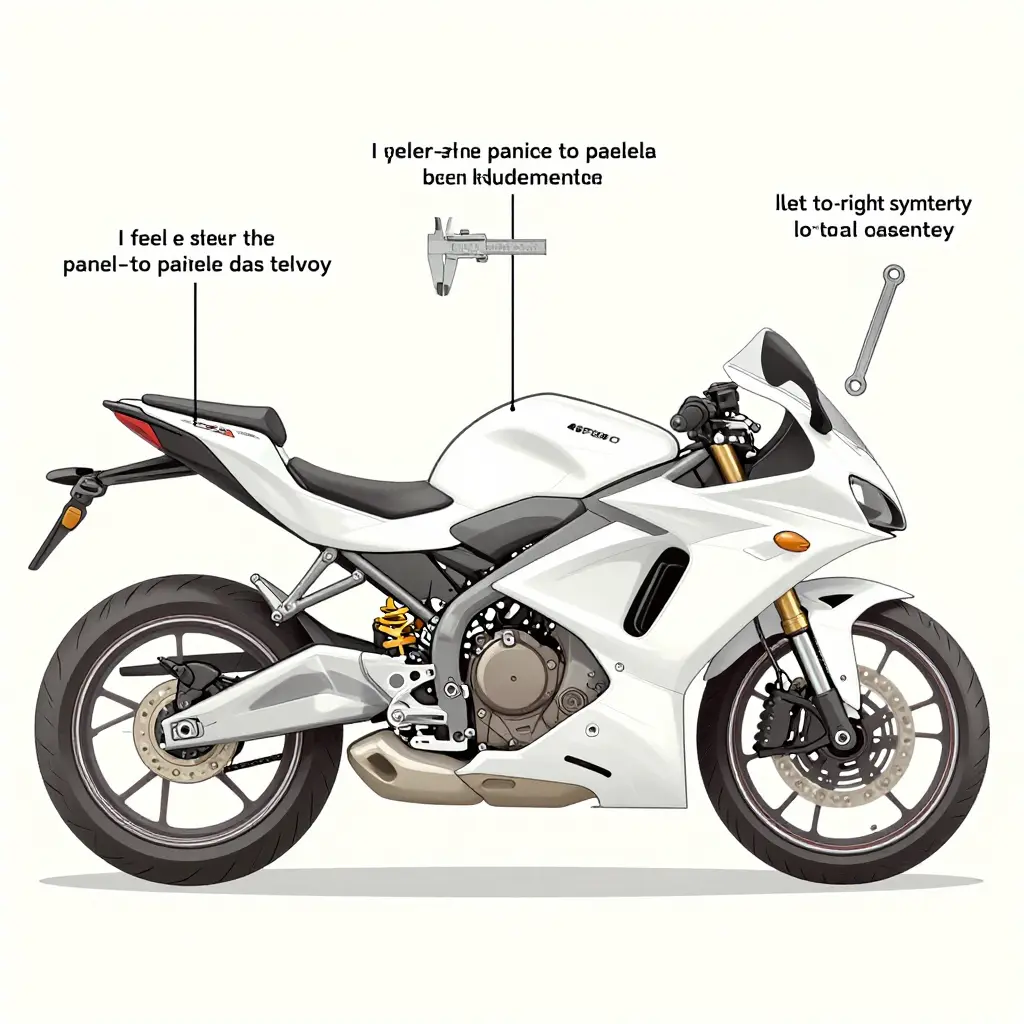
Verification Steps That Catch Trouble Early
1. Measure panel-to-panel gaps.
Run a feeler gauge or plastic gap tool at several points along each seam, not just one. OEM gaps are usually consistent; aftermarket kits rarely are. Record the numbers so you can see whether the gap drifts front-to-back or widens near a mounting boss.
2. Check left-to-right symmetry.
Measure from a fixed centerline reference, like the steering stem or a frame rail, to each side’s panel edge. Uneven gap tolerance on one side signals a bent bracket, a warped panel, or a twisted subframe that no amount of bodywork will hide.
3. Confirm bolt-hole alignment under light tension.
Seat every fastener finger-tight first. If a hole only lines up when you force a bolt, the panel is loaded before you even ride. Light tension should let all holes register; forced alignment means you need to slot, shim, or correct the mount.
4. Test-fit parts on the bike, not on a bench.
The frame is the only true reference. A panel that sits perfectly on a worktable can flex or shift once bolted to a running, vibrating machine. Follow a surface-protection routine during handling so test-fitting does not scuff new gel coat or primer – the same care that preserves coatings here applies to any finish you plan to keep.
| Check point | Target gap | Acceptable range | Tool |
|---|---|---|---|
| Panel-to-panel gap (adjacent fairings) | 3 mm | 2-4 mm | Feeler gauge |
| Variance along a single seam | 0 mm | max 1 mm | Feeler gauge |
| Left-right symmetry | 0 mm | max 1.5 mm | Tape measure / caliper |
| Bolt-hole offset | 0 mm | max 0.5 mm | Caliper |
| Gap around head/tail light | even | plus or minus 1 mm | Feeler gauge |
Why Alignment Errors Compound
Alignment errors compound during assembly. Half a millimeter that slips at the front bracket becomes a visible gap at the tank, a proud edge at the tail, and a stress crack months later. Verify early, verify on the bike, and you protect both your paint budget and the panel alignment you worked so hard to achieve.
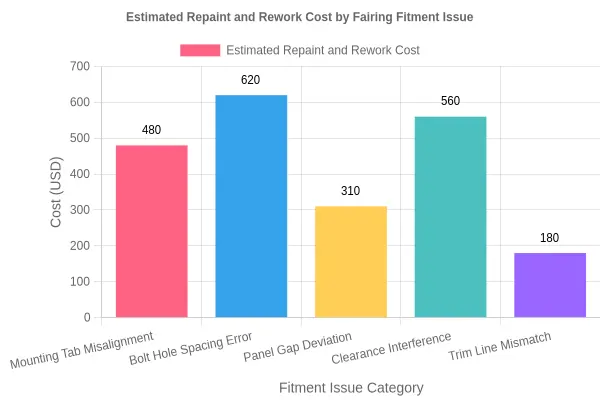
Figure 1: Estimated repaint and rework costs for an older-model full fairing kit, broken down by fitment issue category.
Structural fitment problems cost far more to fix than surface flaws: bolt hole spacing errors run roughly $620 and mounting tab misalignment near $480, against about $180 for a trim line mismatch. A panel that physically will not seat has to be drilled, shimmed, or re-glassed, then blended with fresh paint across the surrounding bodywork; a lopsided trim line usually just needs a gentle adjustment. That distinction matters for how paint care affects resale value.
Prep, Primer, and Paint Layering: Where Fitment Is Decided
Paint Thickness Changes the Fit
On an older bike, a fairing repaint and full fairing kit fitment are the same geometry problem. Every layer you add to a panel has a thickness, and that thickness pushes the panel’s edges outward. Sanding removes material, primer adds it back and then some, base coat lays down color, and clearcoat seals the stack. Each stage is measured in microns, but across a broad, curved side panel those microns add up to millimeters at the mounting tabs and bolt holes. Prep is not an afterthought; it is where a kit ends up lining up or not.
The Four Stages and Where They Loop Back
The work moves through four stages. Treat them as one continuous measurement chain:
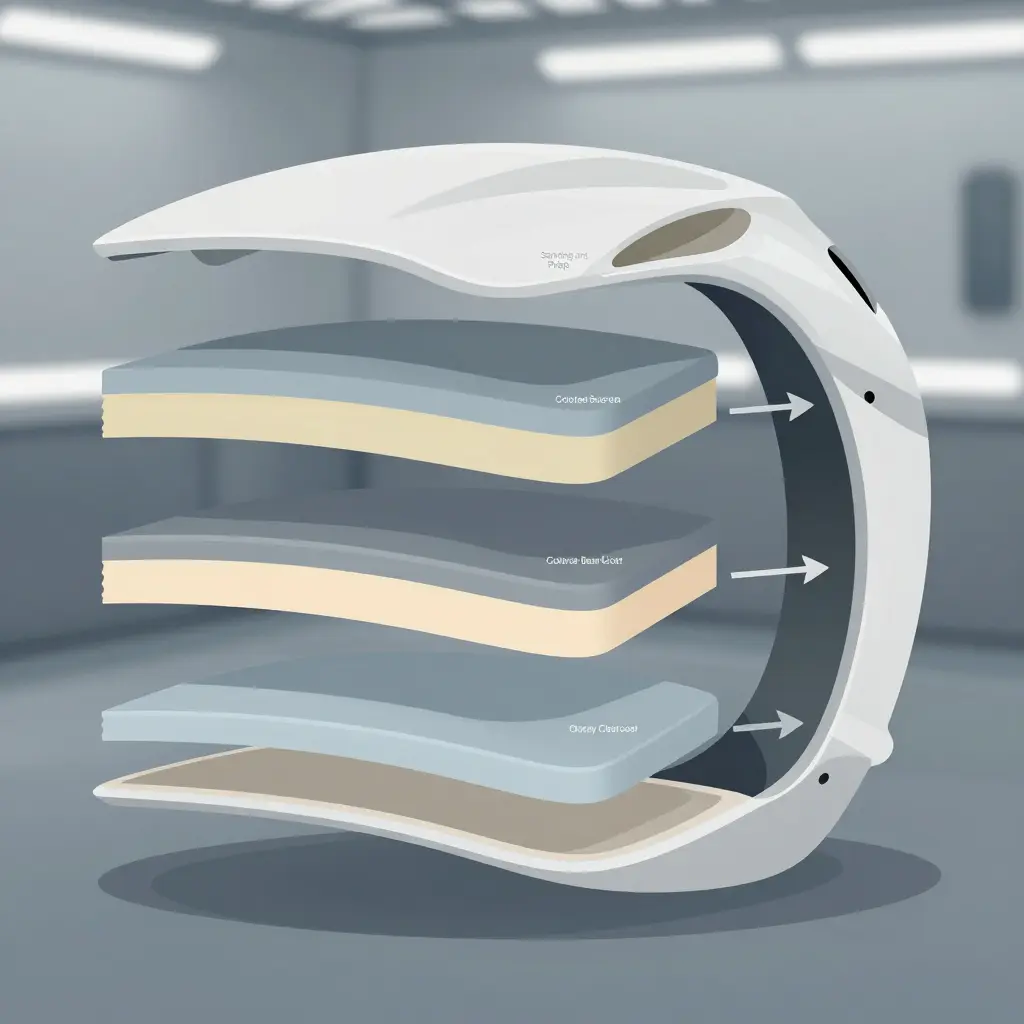
| Stage | What It Does to the Panel | Fitment Risk |
|---|---|---|
| Sanding / prep | Removes old finish and scratches; opens the surface | Erratic sanding thins edges and changes gap shape |
| Primer | Fills and primer build-up adds measurable thickness | Heavy coats swell high-spots past the seam line |
| Base coat | Delivers color over a sealed surface | Uneven film builds up pressure near tight gaps |
| Clearcoat | Protects and adds depth; the thickest single layer | Extra clear can bridge and block tab clearance |
Every prep stage must follow a confirmed dry fit. Assemble the full fairing kit on the bare bike first, mark where panels contact, then disassemble. Prime and paint before that dry fit and you are guessing at a gap that a few coats of product will quietly close.
Rework does not disappear once the finish is on; it loops back the moment a fitment fault resurfaces. A bolt hole that will not align, a seam that rubs, a panel that refuses to seat – all signs to stop and return to sanding rather than force the part. Sanding the mounting face is cheaper than repainting a panel you cracked by tightening it down.
A clean, even layering job also protects the panels you worked to fit and supports resale – the same principle behind how paint care influences a vehicle’s resale value.
Sequence and the Recheck Points
The sequence is dry fit first, then sand, then prime, then base, then clear. Record each panel’s gap measurements after the dry fit and check them again after primer. If a fitment fault reappears at any stage, step back to sanding and correct the mounting surface before adding more product. Keep primer build-up thin and even, and never let clearcoat thickness decide whether a tab clears its bolt. Treat the finish as the final fitment adjustment rather than a separate cosmetic task, and older-model fairing work stays predictable instead of expensive.
The Fitment-to-Paint Process
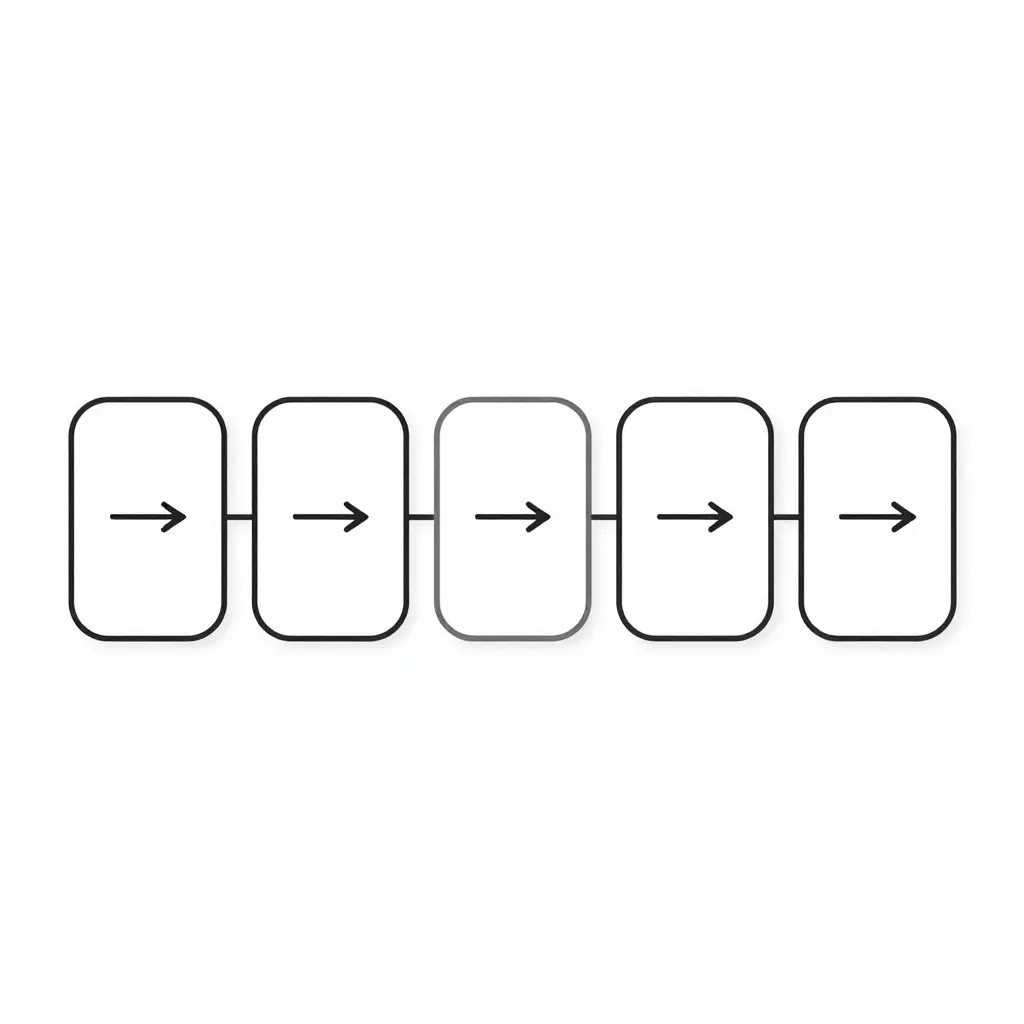
Before a single drop of primer hits an older-model fairing kit, the real work happens in the dry-fit stage. The diagram below maps that sequence: dry test-fit, measurement, adjustment, prep, priming, and final paint. The early fitment steps gate everything downstream. Skip or rush the dry-fit and every later stage inherits the error, adding rework hours, extra material, and a repaint you never budgeted for.
Sourcing and Kit Cost Comparison
The fairing kit cost you see at checkout is only the opening bid. What actually decides your final bill is how well a full fairing kit for an older model fits once it lands on your bench.
Older bikes are the hard case. Factory tooling is long gone, so aftermarket suppliers are reverse-engineering curves, tabs, and mounting points from scratch. That is exactly where quality separates fast.
What Drives Rework After Delivery
Three factors control how much labor you absorb once the box arrives.
- Mold accuracy – A precise mold means panels align with existing holes and gaps stay tight. A sloppy one means grinding, shimming, and drilling to force a fit.
- Material quality – Flexible ABS flexes and holds paint; brittle shells crack at stress points and need patching before they ever reach the booth.
- Hardware completeness – Missing clips, bolts, and brackets turn a weekend job into a scavenger hunt.
Every hour of fitting adds to your repaint prep, because sanded and reshaped panels demand extra primer and color coats to look uniform.
Evaluating Suppliers Before You Buy
Ask hard questions. Do they publish fitment notes for specific model years? Do they include a full hardware kit? What’s the return window if panels don’t line up?
A supplier who answers fast and documents fitment clearly usually ships kits that need less fuss. One value-versus-risk rule applies here: a cheaper kit that fits saves you money once, while a cheap kit that doesn’t fit keeps charging you in labor, filler, and paint.
Summit Fairings makes those points its pitch. The company says it carries over 3,000 styles across almost all motorcycle models, prices them 10-40% below other sites, and answers questions within six hours. For most projects, that combination strips out the guesswork. You can browse the range at summitfairings.com.
Why Upfront Fitment Pays Off
When panels align on the first try, you skip the rework loop that quietly doubles a repaint, and you keep the finish you paid for. That is what how paint quality affects resale value comes down to: a clean, well-fitted result holds up over time. Choose the source that gets it right the first time.
Frequently Asked Questions
How Can I Tell if a Full Fairing Kit for an Older Model Will Fit Before Buying?
Start with the seller’s compatibility chart, then verify it against your own bike instead of trusting it blindly. Compare your model year, mounting points, bolt hole spacing, and cowl stay shape with the kit’s specifications. Request installed photos or a test-fit report from previous buyers. Measuring your existing panels before ordering remains the most reliable way to confirm a match.
Can Fitment Issues Be Fixed After the Fairings Are Painted?
Yes, but correcting them after paint is costly and frustrating. Trimming, sanding, or re-drilling a finished panel usually damages the coating, so you often end up paying for a second round of refinishing. Complete all fairing fitment checks on bare, unpainted panels before the paint stage begins.
How Much Panel Gap Deviation Is Actually Acceptable?
Most builders treat a consistent 2-3 mm gap as normal across adjacent panels. Uneven or widening gaps beyond that usually point to a mounting or alignment problem rather than a manufacturing flaw. Because factory tolerances vary by model, confirm the specific specification for your bike before judging the finished result.
Why Do Older Models Need Extra Fairing Fitment Checks?
Age brings wear: bent stays, previous repairs, and minor frame flex all shift mounting points over time. Many aftermarket kits are molded from newer machines, so a full fairing kit for an older model frequently needs trimming or shimming to sit correctly. Extra checks catch these problems before they force you into another repaint.
How Do I Decide Between Repaint and Rework for a Misaligned Panel?
Rework first when the gap comes from mounting or alignment, since repositioning is far cheaper than refinishing. Choose repaint only when the panel is the right shape but its finish is compromised. Always compare repaint and rework costs side by side, because a misaligned panel rarely needs new paint at all.
For model-specific fitment guidance, contact Summit Fairings.
Conclusion: Fitment Checks Pay for Themselves
For a full fairing kit for an older model, fitment checks performed before paint do more to control repaint and rework costs than anything that happens afterward.
The checks that matter most – panel alignment, mounting tab locations, fastener hole spacing, and clearance around the tank, seat, and exhaust – catch problems while a part is still bare plastic, not after a costly finish has cured.
The measurement and prep stages – dry-fitting, marking gaps, trimming, sanding, and test-assembling hardware – translate those checks into physical corrections that a paint booth simply cannot hide.
Where you buy matters too. A kit from a supplier with documented molds and consistent tolerances saves far more time than a cheaper set of unknown origin.
Every layer of paint you don’t have to strip is money and labor returned to the build. It also helps preserve long-term value, much like how proper paint care protects resale value.
For builders who want to skip the guesswork, sourcing reliable kits from Summit Fairings keeps alignment predictable from the first dry-fit onward.